PNG vs JPG vs WebP: Which Image Format Should You Actually Use?
Every image on your phone or computer is stored in some format, and the format quietly decides three things: how big the file is, how good it looks, and what it can do. Pick the wrong one and your website loads slowly, your upload gets rejected for being over the size limit, or your logo arrives with an ugly white box where transparency should be. Pick the right one and nobody notices anything — which is the goal. Here's the whole subject in plain English, along with the browser-based tools to act on it.
The core idea: pixels are expensive, so formats cheat
A photo from a modern phone is roughly twelve million pixels, each needing three bytes of color — about 36 MB uncompressed. Nobody ships that. Every common format is a strategy for storing those pixels in less space, and the strategies fall into two families. Lossless compression squeezes the data without discarding any of it — the decompressed image is pixel-for-pixel identical. Lossy compression goes further by throwing away detail your eye is unlikely to miss — and once discarded, that detail never comes back. Neither family is "better"; they're tools for different jobs.
JPG: the photograph specialist
JPG (or JPEG — same thing) is lossy, and it is spectacularly good at one job: photographs. Real-world photos are full of gradual color transitions where small errors are invisible, so JPG can shrink a photo to a tenth of its raw size with no visible difference. Its weaknesses are the mirror of its strengths: hard edges, text, and flat-color graphics come out with faint "ringing" artifacts, and JPG has no concept of transparency — convert a logo with a transparent background to JPG and the background becomes solid white. There's also a ratchet effect worth knowing: every re-save of a JPG re-applies lossy compression, so repeatedly editing and saving the same JPG slowly degrades it. Keep an original; export copies.
PNG: exact pixels and real transparency
PNG is lossless and supports full alpha transparency, which makes it the right answer for everything JPG is wrong for: logos, icons, screenshots, charts, diagrams, any image containing text, and anything that needs a transparent background. The cost is size — a photograph saved as PNG is often five to ten times larger than the same photo as a quality JPG, because PNG refuses to throw anything away and photos give it nothing repetitive to squeeze. The rule of thumb writes itself: photos → JPG, graphics → PNG.
WebP: the modern all-rounder
WebP, developed for the web, does both jobs: it has a lossy mode that typically beats JPG by 25–35% at the same visual quality, and a lossless mode with transparency that usually beats PNG. Browser support is now essentially universal, so for anything destined for a website, WebP is usually the best choice. Its main friction is outside the browser — some older desktop software and upload forms still don't accept it, which is why converting between all three formats remains a daily task. Our Image Format Converter does exactly that, in the browser: it redraws your image onto a canvas and re-exports it in the format you pick, warning you about the transparency-to-white flattening when you convert to JPG.
Compression and resizing: the two knobs that matter
Independent of format, two operations solve ninety percent of "file too big" problems. The first is quality compression: lossy formats accept a quality setting, and the sweet spot is lower than most people expect — a JPG at quality 80 is routinely indistinguishable from quality 100 at half the size. Our Image Compressor gives you a live slider with a preview and a size readout, so you can find the exact point where the file is small and the image still looks right, instead of guessing.
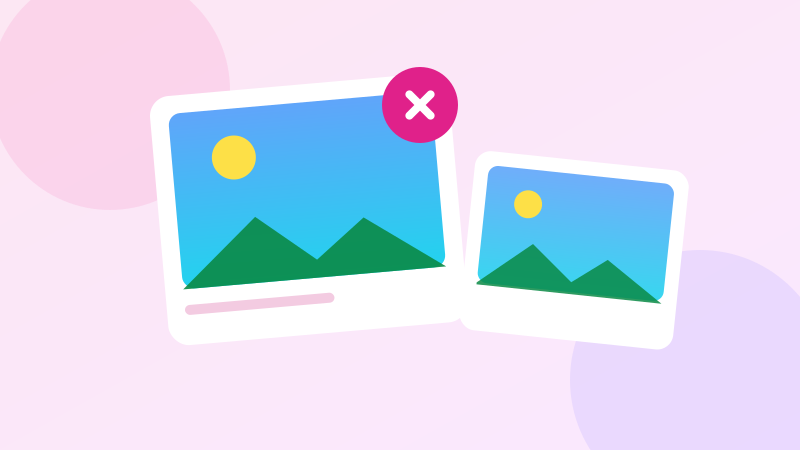
The second knob is dimensions, and it's the one people forget. If a photo is 4,000 pixels wide and it's going into a spot on a web page that's 800 pixels wide, three-quarters of those pixels are pure waste — the browser downloads them and immediately scales them away. The Image Resizer / Cropper resamples the image down to the size you actually need (with the aspect ratio locked so nothing gets stretched), and this alone often shrinks files more than any quality setting can. The efficient order of operations: resize first, then compress.
The supporting cast
A few neighboring tools round out the image workflow. SVG to PNG rasterizes vector graphics at any pixel size you choose — necessary because SVGs have no inherent resolution, and some platforms only accept raster uploads. Image to Base64 turns a small image into a text string you can embed directly in HTML or CSS, saving a network request for tiny icons. Image EXIF Viewer reads the metadata hiding inside JPGs — camera model, exposure settings, timestamps — which is worth checking before you publish a photo, since you may be sharing more than pixels. Color Extractor pulls the dominant colors out of any image, handy for building a palette around a photo, and the QR Code Generator produces crisp QR codes locally — which matters when the encoded content is a private link or a Wi-Fi password you'd rather not send to a third-party generator.
Privacy, again — because images are personal
It's worth pausing on how these tools run. Everything above happens inside your browser: the file is read locally, drawn onto an invisible canvas, transformed, and re-exported — no upload, no server, no queue. For family photos, ID scans, medical images, or unreleased design work, that's the difference between "processed" and "shared." The one honest caveat we always attach: canvas-based conversion re-encodes pixels, so for JPG output it applies one round of lossy compression at the quality you set. For the vast majority of uses that's exactly what you want; for archival masters, keep the originals untouched.
The cheat sheet
- Photograph for the web or email: resize to the displayed size, then JPG or WebP at ~80 quality.
- Logo, icon, screenshot, chart, anything with text: PNG — or lossless WebP if the destination supports it.
- Needs a transparent background: PNG or WebP. Never JPG.
- File still too big: resize dimensions first, then lower quality; format changes come third.
- Editing repeatedly: keep a lossless original; export lossy copies only at the end.
Formats aren't trivia — they're a small decision you make dozens of times a year, each time trading size against fidelity against features. Now the trade-offs are explicit, and the tools to act on them are one tab away, no upload required.